Harold's Photo Blurbs
Night Sky Photography Tips: Capture Meteor Showers, the Moon & Starry Skies
by Harold's Photo / July 27, 2026
There is something magical about looking up at the night sky. Whether you are watching a meteor shower, photographing a glowing full moon, or capturing thousands of stars across the Milky Way, night sky photography can create some truly unforgettable images.
The good news is that you do not need the most expensive camera equipment to get started. With a little planning, a sturdy tripod, and the right camera settings, you can capture beautiful photographs of meteor showers, the moon, stars, and other nighttime events.
Plan Before You Head Outside
Successful night sky photography often begins before you leave home. Check the weather forecast and look for a night with clear skies and minimal cloud cover.
You should also research:
- The current moon phase
- Moonrise and moonset times
- The peak date and time of an upcoming meteor shower
- The direction the meteor shower will appear
- When the Milky Way will be visible
- Nearby locations with minimal light pollution
Photography and astronomy apps can help you locate stars, planets, constellations, the Milky Way, and upcoming celestial events. Arriving before sunset will also give you time to find your composition and safely set up your equipment before it gets dark.
👉 Tip: The darker your location, the more stars and nighttime details your camera will be able to capture.
Find a Location Away From City Lights
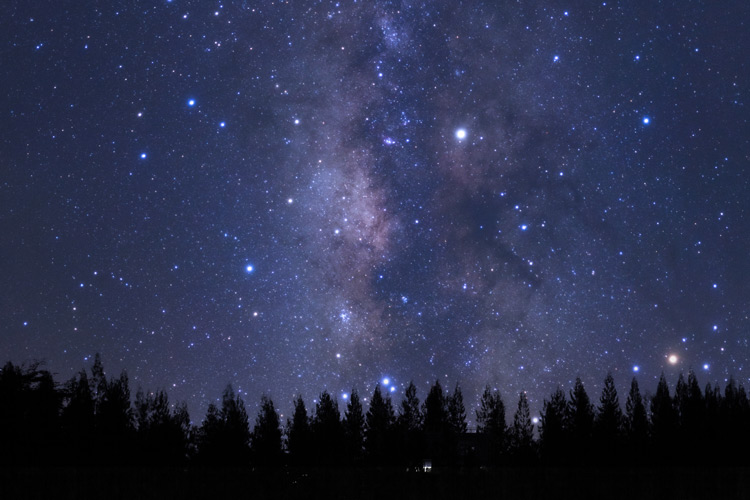
Streetlights, buildings, signs, and nearby cities can create light pollution that makes stars harder to see and photograph. For the clearest results, travel to a darker location outside the city whenever possible.
Good night sky photography locations may include:
- State parks
- Open fields
- Rural roads
- Lakes and river areas
- Campgrounds
- Dark sky parks
Make sure you have permission to be on the property and confirm that the location remains open after dark. Avoid setting up near traffic, uneven ground, or other hazards that may be difficult to see at night.
Use a Sturdy Tripod
Night photography usually requires longer exposure times. During a long exposure, even a small amount of camera movement can make stars and other details appear blurry.
A sturdy tripod will keep your camera still while the shutter is open. After placing the camera on the tripod, turn off image stabilization if your camera or lens manufacturer recommends disabling it when using a tripod.
To avoid moving the camera when you press the shutter button, use:
- A remote shutter release
- A cable release
- Your camera’s mobile app
- The camera’s 2-second or 10-second timer
Using one of these methods gives the camera time to stop moving before the photograph is taken.
Start With Manual Camera Settings
Automatic camera modes often struggle in very dark conditions. Manual mode gives you control over the aperture, shutter speed, ISO, and focus.
For general star photography, try these settings as a starting point:
- Aperture: f/2.8 or the widest aperture available on your lens
- ISO: 1600 to 3200
- Shutter speed: 10 to 20 seconds
- Focus: Manual focus
- File format: RAW, when available
Take a test photo and review it on your camera. If the image is too dark, increase the ISO, open the aperture, or use a slightly longer shutter speed. If the image is too bright or noisy, lower the ISO or shorten the exposure.
Every camera, lens, and location is different, so use these settings as a starting point rather than a strict rule.
Focus Manually on the Stars
Autofocus may have difficulty finding a subject in a dark sky. Switching your lens to manual focus will usually give you more consistent results.
Use your camera’s live view screen and locate a bright star, planet, or distant light. Magnify the image on the screen and slowly adjust the focus ring until the point of light appears as small and sharp as possible.
Although many lenses include an infinity focus symbol, turning the lens completely to infinity does not always produce the sharpest result. Focus carefully, take a test image, and zoom in on the photograph to check the stars.
Once the focus looks sharp, avoid touching the focus ring for the remainder of your session.
Photographing Meteor Showers
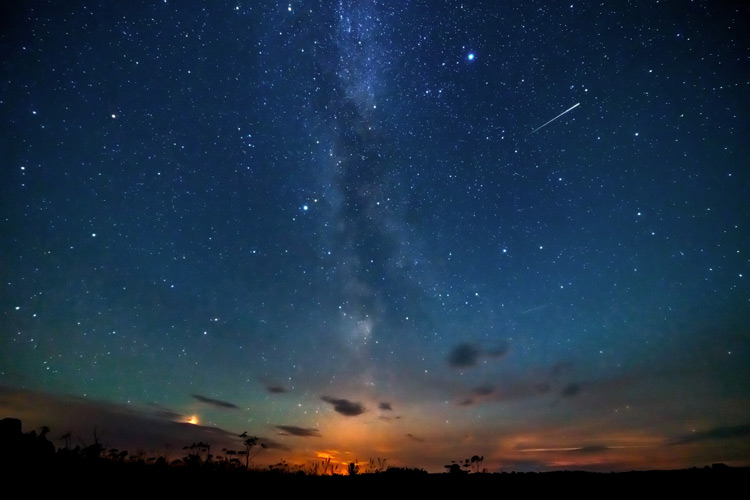
Meteor showers can be unpredictable because meteors may appear in different parts of the sky and disappear within seconds. Instead of trying to react each time you see one, set up your camera to take photographs continuously.
For the best chance of capturing a meteor:
- Use a wide-angle lens to photograph a larger section of the sky
- Use a sturdy tripod
- Set the camera to manual focus
- Use exposures of approximately 10 to 20 seconds
- Use continuous shooting or an interval timer
- Take photographs for an extended period
- Bring extra batteries and memory cards
You may take dozens or even hundreds of photographs before capturing a bright meteor. Patience is an important part of the process.
Meteor showers appear to originate from a particular area of the sky known as the radiant. However, meteors can appear throughout the sky, and those farther from the radiant may produce longer trails.
👉 Tip: A night with little or no moonlight usually provides darker skies and better visibility for faint meteors.
Photographing the Moon
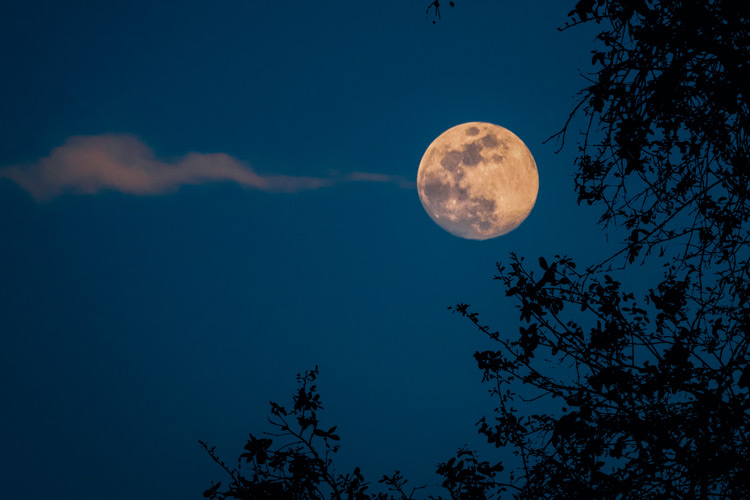
The moon is much brighter than the stars around it. Camera settings that work for photographing stars will usually make the moon appear as an overexposed white circle without visible surface detail.
For detailed moon photographs, start with:
- ISO: 100 to 400
- Aperture: f/8 to f/11
- Shutter speed: Approximately 1/125 to 1/500 second
- Focus: Manual or single-point autofocus
- Lens: A telephoto or zoom lens
These settings are only a starting point. Adjust the exposure until you can see details in the moon’s surface rather than a solid white circle.
A longer telephoto lens will make the moon appear larger in the frame. You can also create an interesting composition by photographing the moon near trees, buildings, hills, or other recognizable landmarks.
The moon can appear especially dramatic when it is close to the horizon. Planning your location in advance can help you position the moon behind an interesting foreground subject.
Photographing Stars Without Creating Trails
When your shutter remains open for too long, the movement of the Earth can cause stars to appear as small lines instead of sharp points.
A common starting guideline is the 500 Rule:
500 ÷ the focal length of your lens = approximate maximum shutter speed
For example, when using a 24mm lens on a full-frame camera:
500 ÷ 24 = approximately 20 seconds
Modern high-resolution cameras may show star movement at even shorter exposures, so you may need to use a more conservative number such as 400 or 300 instead of 500.
Take a test photograph and zoom in closely. If the stars look stretched, shorten the shutter speed and increase the ISO if necessary.
Create Star Trail Photographs
While short exposures help keep stars sharp, longer exposures can intentionally capture the apparent movement of the stars across the sky.
There are two common ways to create star trails:
- Take one very long exposure
- Take a series of shorter exposures and combine them during editing
Combining multiple shorter exposures often gives you more control and reduces the risk of losing an entire photograph because of camera movement, airplane lights, passing vehicles, or excessive image noise.
For circular star trails, point your camera toward the celestial pole. In the Northern Hemisphere, Polaris, also known as the North Star, will appear near the center of the circles.
Include an Interesting Foreground
A photograph of the night sky can be beautiful on its own, but including something in the foreground can make the image more interesting and give it a sense of place.
Consider including:
- Trees
- Mountains or hills
- Lakes and reflections
- Barns or farm buildings
- Rock formations
- Silhouettes
- Historic buildings
- Tents or campfires
You may need to create separate exposures for the foreground and the sky, especially when the landscape is much darker than the stars. These images can be carefully blended during editing to create a photograph that more closely represents what the scene felt like in person.
Watch for Condensation and Lens Fog
As nighttime temperatures change, condensation may form on your camera lens. Lens fog can make stars appear soft and may ruin a long series of photographs without being immediately noticeable.
Check your lens regularly and bring a clean microfiber cloth. A lens heater or dew-prevention strap can also help keep the front of the lens clear during longer photography sessions.
When returning to a warm vehicle or building after being outside in cold weather, place the camera in a sealed camera bag before going indoors. Allowing the equipment to warm gradually can help reduce condensation on and inside the camera.
Bring Extra Batteries and Memory Cards
Long exposures, live view, cold temperatures, and continuous shooting can drain camera batteries more quickly than normal daytime photography.
Pack the following before heading out:
- Fully charged spare batteries
- Extra memory cards
- A flashlight or headlamp
- A red-light flashlight to help preserve your night vision
- A microfiber lens cloth
- Warm clothing and gloves
- Bug spray during warmer months
- A chair or blanket for longer meteor showers
Keep spare batteries in an inside pocket when photographing in cold weather. Your body heat can help prevent them from losing power as quickly.
Edit Your Night Sky Photographs
Night sky photographs often benefit from careful editing. If your camera allows it, photograph in RAW format so you have more flexibility when adjusting exposure, white balance, shadows, highlights, and color.
Common night photography adjustments include:
- Increasing overall exposure
- Adjusting white balance
- Adding contrast
- Reducing digital noise
- Lowering bright highlights
- Brightening foreground shadows
- Correcting lens distortion
- Removing distracting airplane or satellite trails
Try to keep your adjustments natural. Excessive noise reduction can remove small stars, while too much sharpening may make the image look harsh.
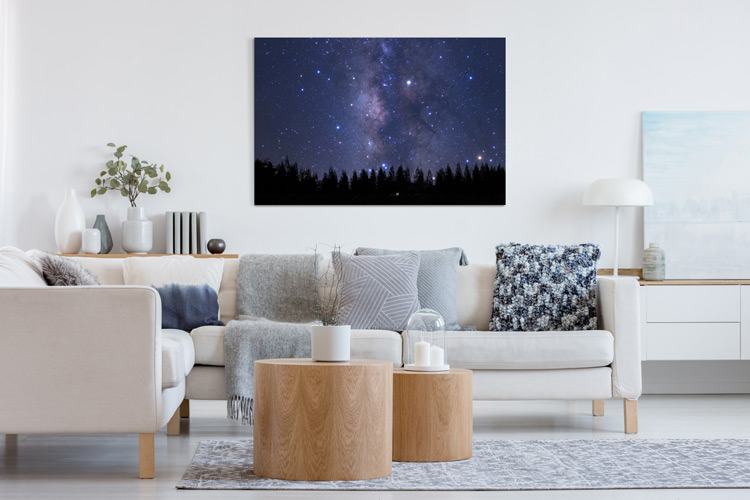
Turn Your Night Sky Photos Into Wall Art
A photograph of the moon, a colorful Milky Way, or a once-in-a-lifetime meteor can become a striking piece of wall décor. Instead of leaving your favorite image on a camera card, phone, or computer, consider turning it into something you can enjoy every day.
Night sky photographs can look beautiful as:
- Traditional photo enlargements
- Canvas prints
- Metal photo prints
- Acrylic prints
- Framed prints
- Photo books or albums
The deep colors, bright stars, and fine details found in night photography can be especially striking on metal photo prints. For a more traditional presentation, explore our selection of photo prints and enlargements.
You can also browse wall décor options to find the right material and display style for your favorite night sky photograph.
Final Thoughts: Be Patient and Keep Practicing
Night sky photography requires patience. Your first attempt may not look exactly as you imagined, but every session will teach you something new about your camera, your lens, and the night sky.
Start with a simple goal:
- Find a dark and safe location
- Place your camera on a tripod
- Focus manually on a bright star
- Take several test photographs
- Adjust one camera setting at a time
- Keep photographing and experimenting
Whether you capture a detailed moon, a streaking meteor, a field of stars, or your first successful image of the Milky Way, the experience of photographing the night sky can be just as rewarding as the final photograph.
👉 Ready to display your best night sky photograph? Explore professional photo prints, enlargements, metal prints, canvas, acrylic, and other wall décor at haroldsphoto.com.